Custom Agents (IA)
Experimental feature
This functionality is in active development and considered experimental. We're continuously improving it based on user feedback and real-world usage patterns.
Custom Agents let you build reusable AI specialists in the web app, each with its own instructions, private context, retrieval boundaries, and approved capabilities.
These focused agents consistently handle the specifics of a class of work, such as knowledge base review, change risk analysis, or ticket triage, regardless of who initiates it. Instead of configuring the same agent logic in every trigger rule or chat session, you define a Custom Agent once and reuse it everywhere.
Custom agents can be invoked from a Trigger Action.
Custom Agents can be configured in the web app at Configuration > Custom Agents
View and Manage Custom Agents
The Custom Agents page lists every custom agent configured for your organization.
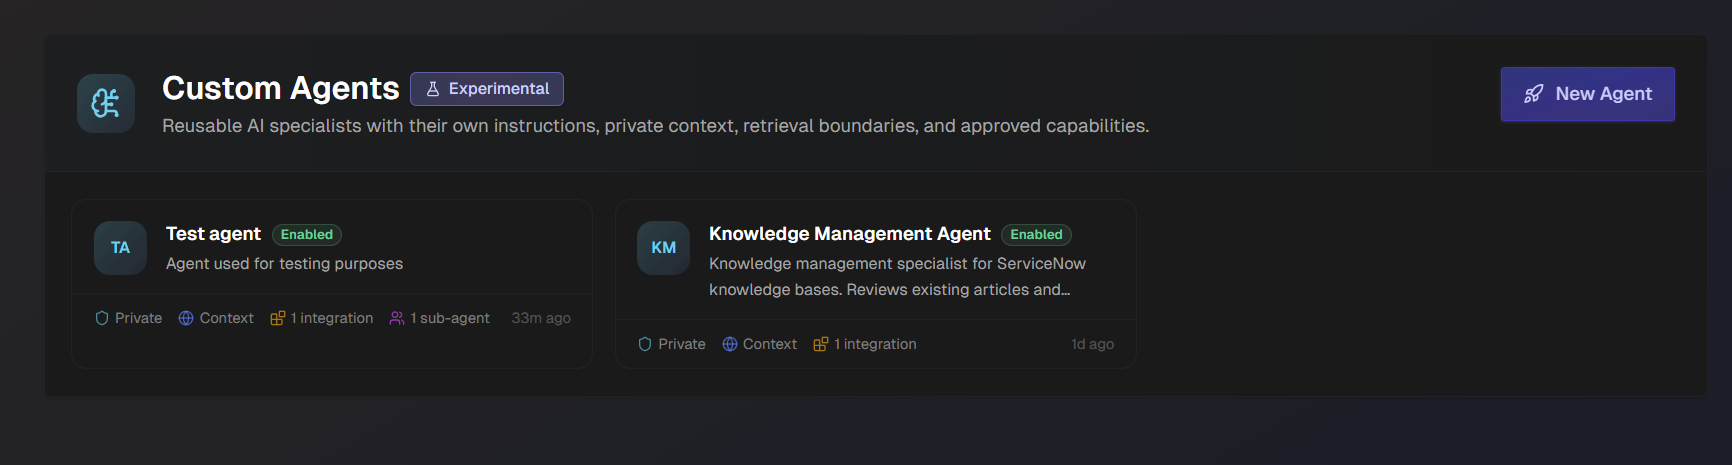
Each agent appears as a card with:
Display name: The agent's name as set in the Identity section of its configuration.
Status: Enabled or disabled. Only enabled agents can be invoked by trigger actions or selected in chat.
Description: A short summary of what the agent does, taken from its configuration.
Scope indicators: Shows whether the agent has Private context, organization-level Context retrieval, and the number of integrations the agent can use.
Last updated: How recently the agent's configuration was changed.
To view or edit an agent, click its card.
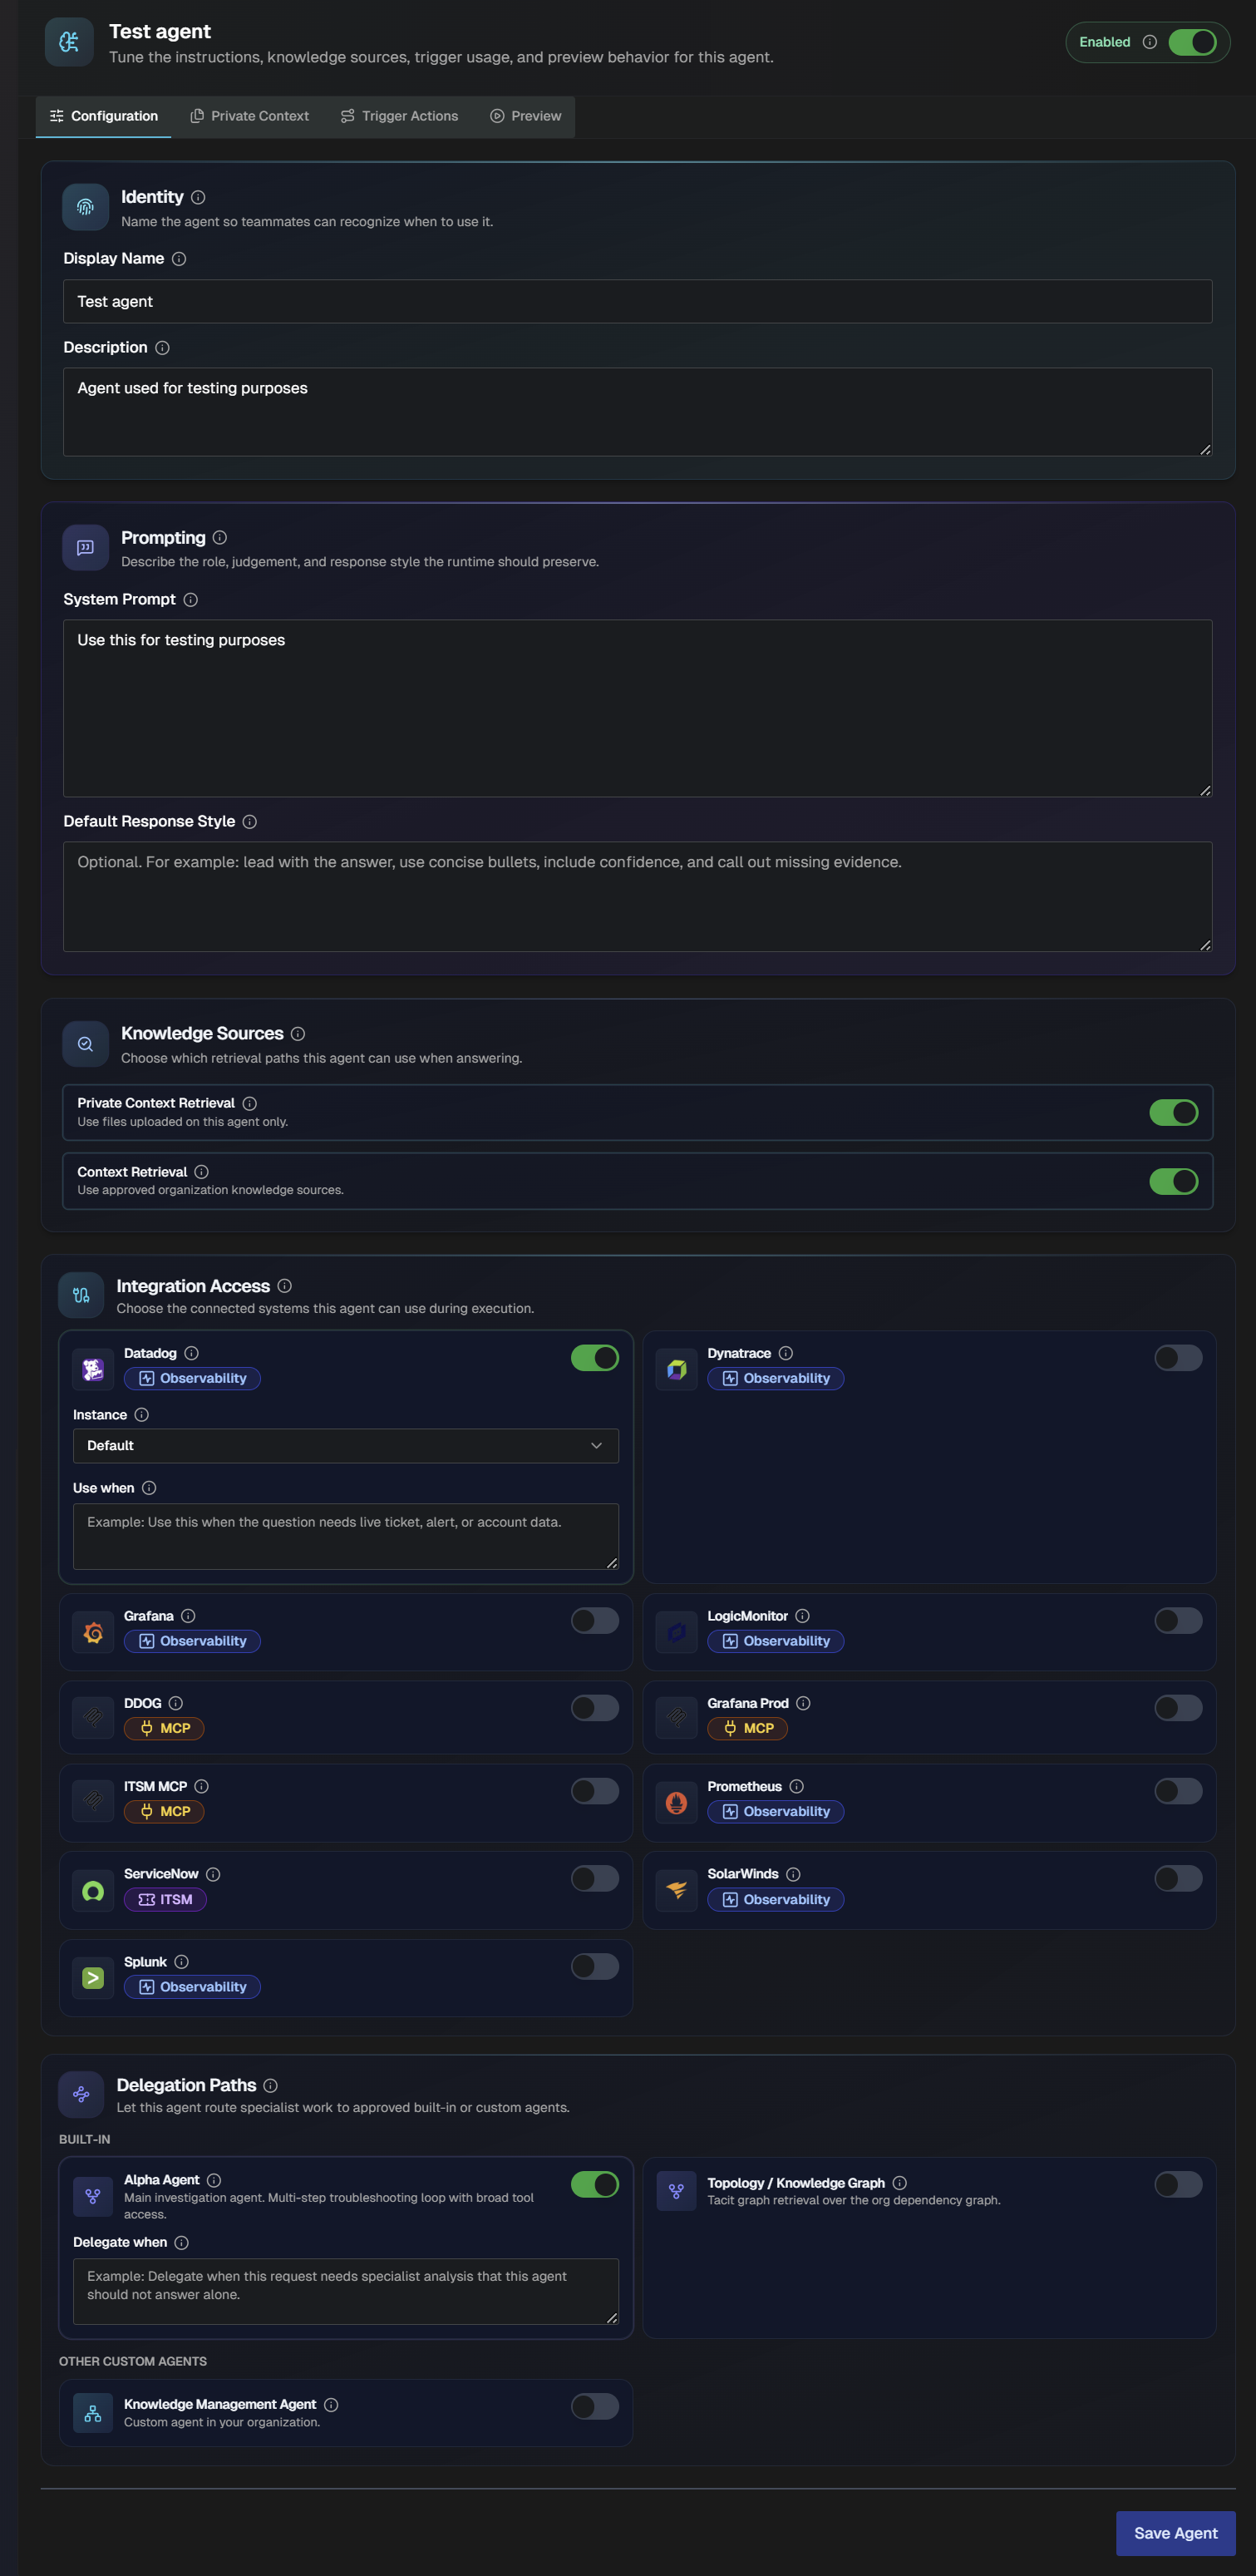
Custom Agents are configured through four tabs at the top of the edit page:
Tab | Purpose |
|---|---|
Configuration | Define the agent's identity, system prompt, response style, knowledge sources, integration access, and delegation paths. |
Private Context | Upload runbooks, SOPs, and local notes that only this agent should retrieve. |
Trigger Actions | Review the automation rules that currently depend on this agent. |
Preview | Test the saved agent in a sandboxed chat session locked to this agent's configuration. |
An Enabled toggle in the top-right corner of the edit page controls whether the agent is active. Disable an agent to take it out of rotation without deleting its configuration.
Create a Custom Agent
To create a custom agent:
Click New Agent.
Toggle the Enabled toggle to determine if the agent will be enabled or disabled.
Navigate to the Identity section and assign a Display Name and Description to the custom agent.
In the Prompting section, populate the following fields:
Field
Description
System Prompt
The full instruction set for the agent. Cover the agent's role, areas of expertise, how it should approach each type of task, the organizational standards it follows, and any critical rules or compliance requirements.
Default Response Style
A shorter directive that shapes how the agent formats its answers. Describe the structure, level of detail, and tone the response should follow, and call out any markers the agent should use to flag uncertainty.
In the Knowledge Sources section, choose which retrieval paths this agent can use when answering. Enable one or both of the following:
Field
Description
Private Context Retrieval
When enabled, the agent can retrieve from files uploaded on this agent only. Those files are not shared with other agents.
Context Retrieval
When enabled, use approved organization knowledge sources.
In the Integration Access section, choose the connected systems this agent can use during execution. After enabling a system, choose the specific instance, and enter a prompt describing when the integration should be used.
In the Delegation Paths section, choose how the agent will route specialist work to approved built-in or custom agents. Choose from the following options:
Option
Description
Alpha Agent
Main investigation agent. Multi-step troubleshooting loop with broad tool access.
Topology / Knowledge Graph
Tacit graph retrieval over the org dependency graph.
Other Custom Agents
If your organization has already created custom agents, they will appear here.
After enabling a delegation path, enter a routing guidance prompt in the Delegate When field.
Click Create Agent.
(Optional) Add runbooks, SOPs, and local notes that only this agent should retrieve. Click into the newly created agent. Navigate to the Private Context tab. Click Upload Context and select the files to upload.
Tip
Supported formats
Supported file types include text, PDF, CSV, and more. Zip archives are extracted and each file is indexed individually.
(Optional) In the Trigger Actions tab, create a trigger action when this agent should run automatically. To create a trigger action, click + Create Trigger Action.
(Optional) On the Preview tab, test the saved agent. Use the chat to ask a realistic question to confirm the prompt, retrieval settings, and delegated capabilities behave as expected.